It’s no secret that Notion has been rapidly growing in popularity. Some people love Notion because of its simplicity and others love its power and flexibility.
You can use Notion to publish tutorials and online courses for your audience. You can invite people to access a private workspace or share your pages to the web.
But until now, there hasn’t been an easy way to put your content behind a paywall and charge for access. But that’s not the case anymore!
You can now use MemberSpace to lockdown your Notion pages, charge for access and only let your customers get to that content once they’ve logged in.
In this tutorial, we’ll show you how to turn your Notion pages into a membership site or online training course that generates revenue.
So let’s get started!
How to Create a Notion Membership Site
- Setup Your Notion Site in Super
- Setup Your Notion Site in MemberSpace
- Setup Your Member Plans in MemberSpace
- Add Your Member Only Pages in MemberSpace
- Setup Your Signup and Login Forms on Notion
- Install MemberSpace on Your Notion Site
- Customize and Test the Member Experience
What You'll Need
- A free Notion account (sign up here)
- A free MemberSpace account (sign up here)
- A free Stripe account (sign up here)
- A paid Super account (sign up here)
- A domain for your Notion site e.g. yourwebsite.com
Step 1: Setup Your Notion Site in Super
Super is a third-party tool which allows you to:
- Host your Notion site on a custom domain e.g. yourwebsite.com
- Use ‘pretty URLs’ for each Notion page e.g. yourwebsite.com/members
- Install MemberSpace code on your Notion site
You’ll need to make your Notion pages public before you can lock them down with MemberSpace. Don’t worry, once we’re done, only your members or customers will be able to access those pages.
In Notion, you should create a hierarchical page structure i.e. have one top-level page e.g. members home page and then create sub-pages with all your other content below that top-level page.
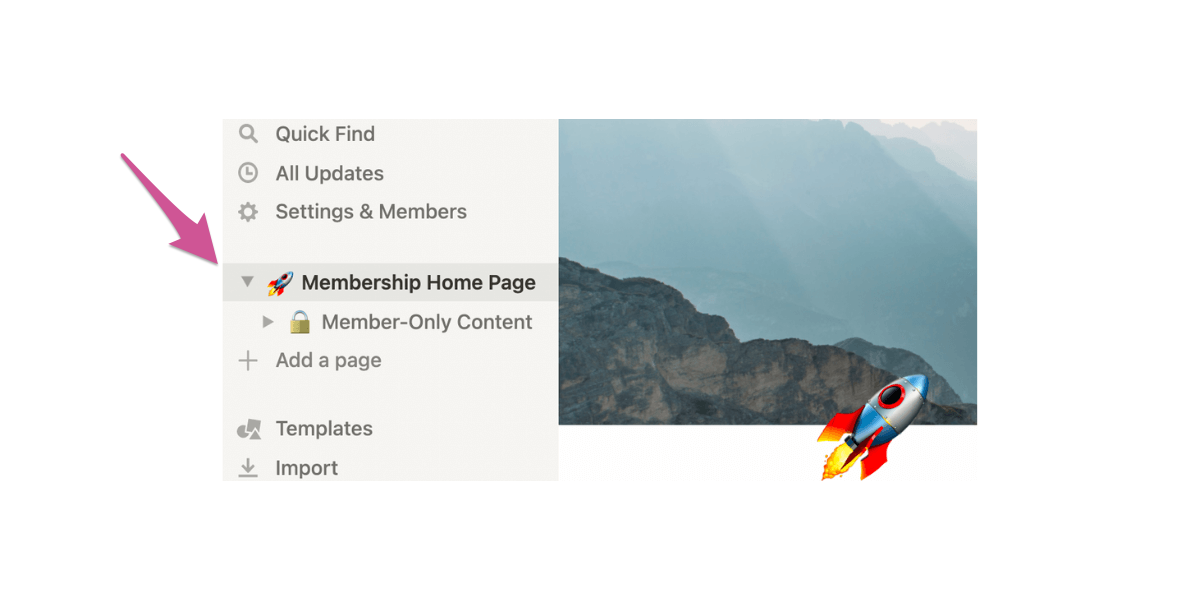
Make your top landing page public in Notion’s settings by clicking “share” in the upper right-hand corner of your screen. Next, toggle on the “share to web” option.

In the menu that opens up, toggle the “allow duplicate as template” to off.
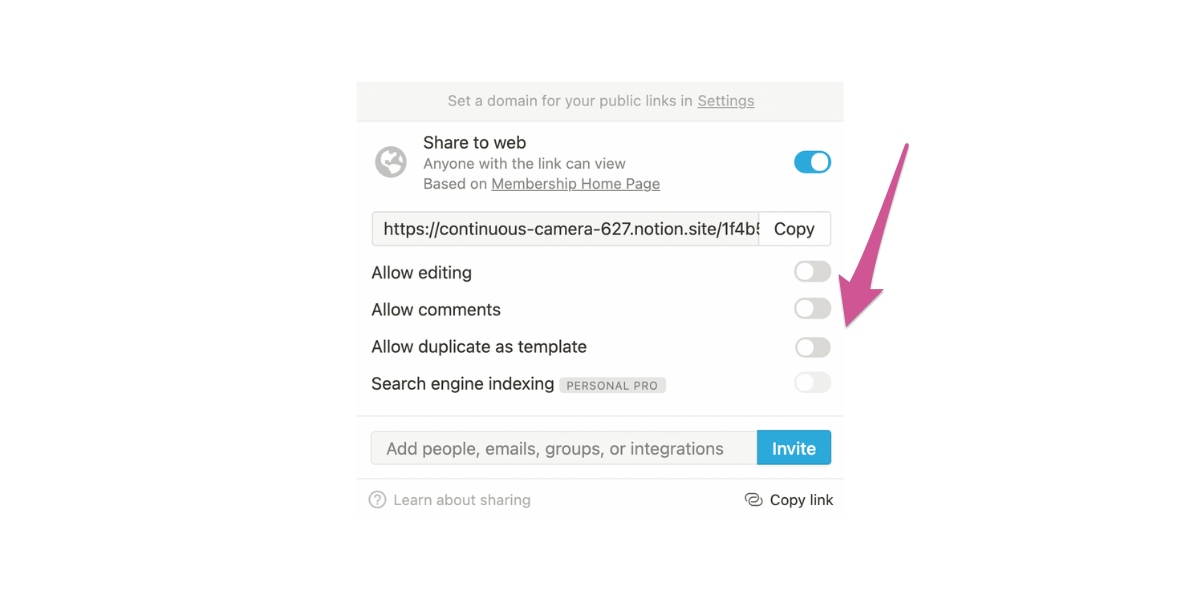
This will make all of your subpages public, too, but not for long. We’ll be protecting those subpages with MemberSpace and Super.
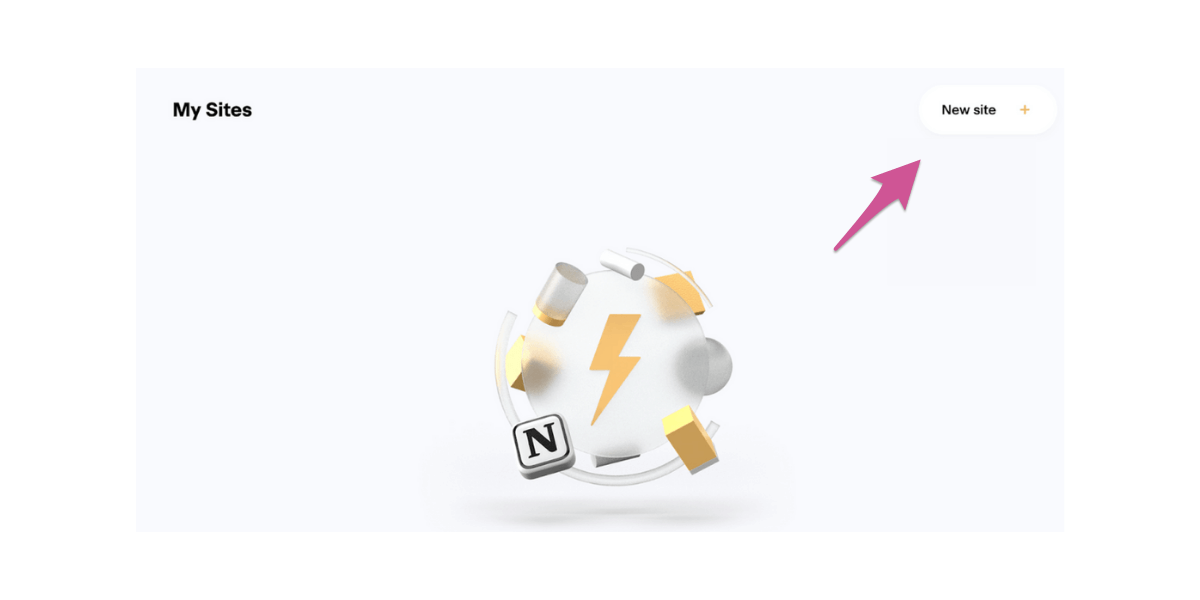
Log into Super and click “Sites” in the left-hand menu.
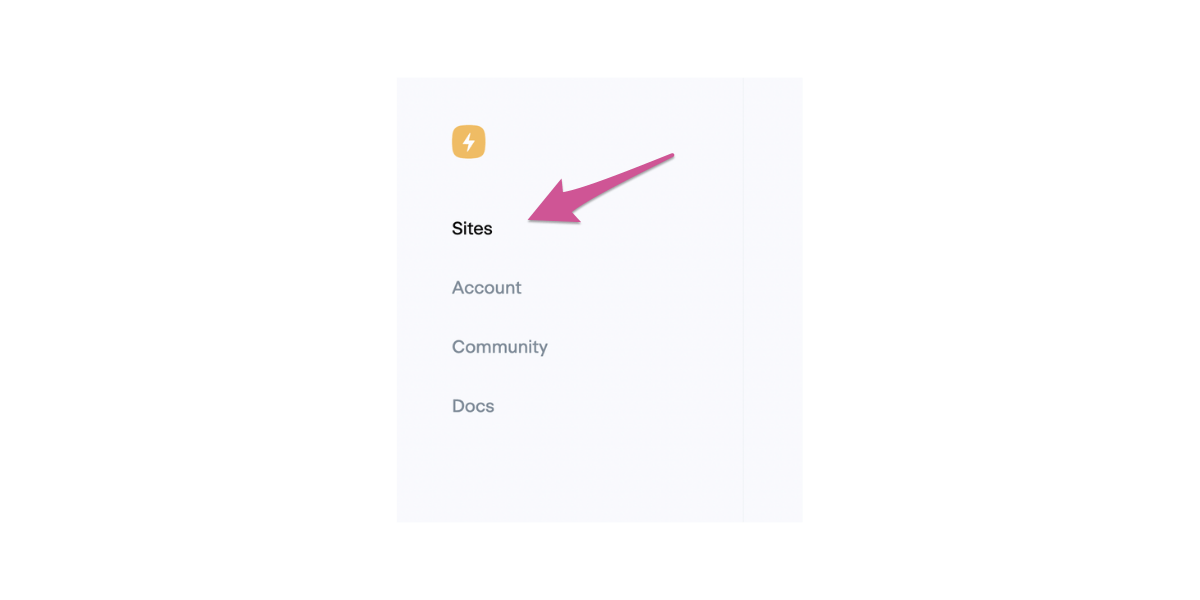
Next, click “New Site” in the upper right-hand corner.
Go back to your Notion workspace and copy the public URL we created in step one (it’s in the share menu!) Then, paste it into Super and give your site a name.
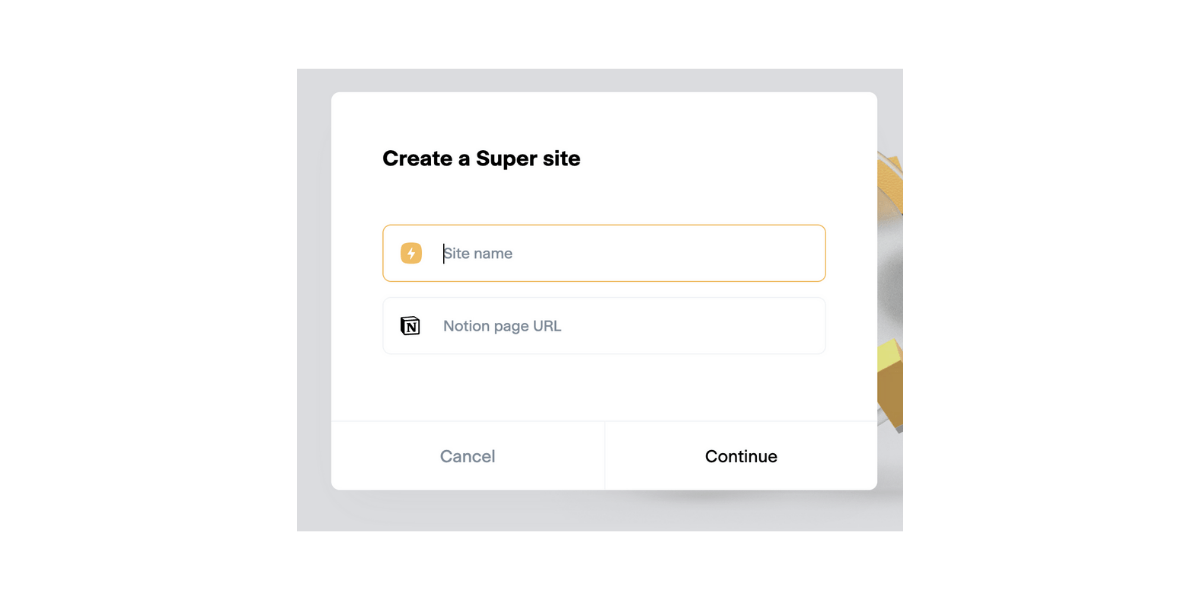
You’ll notice that Notion links are, by default, long and full of numbers. Don’t worry — Super turns all your Notion URLs into nice, pretty links using your custom domain.
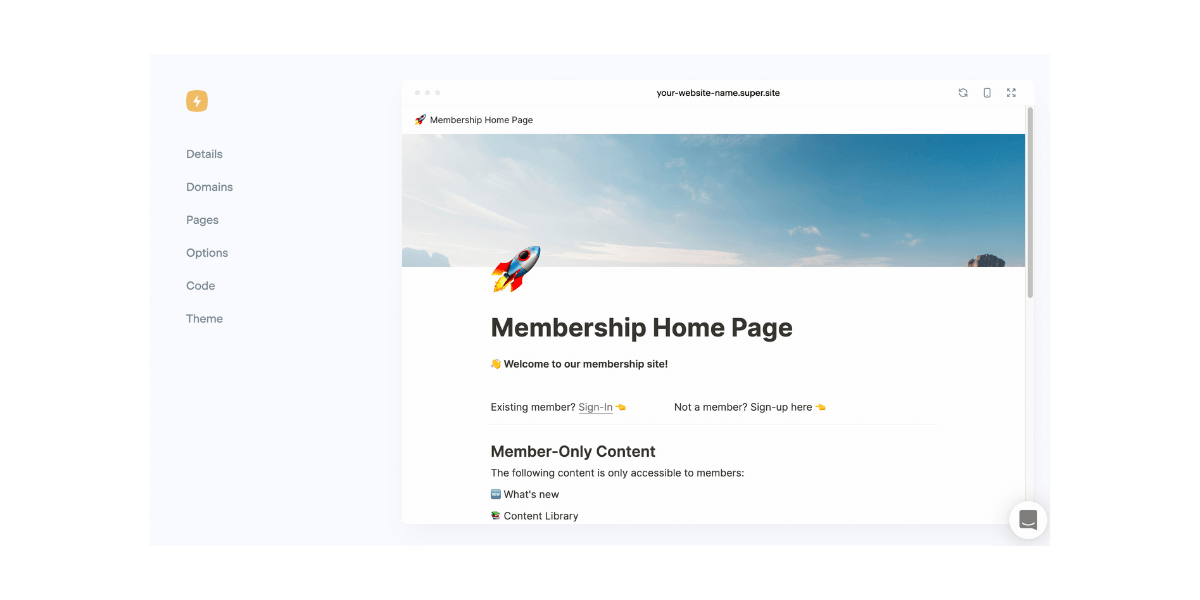
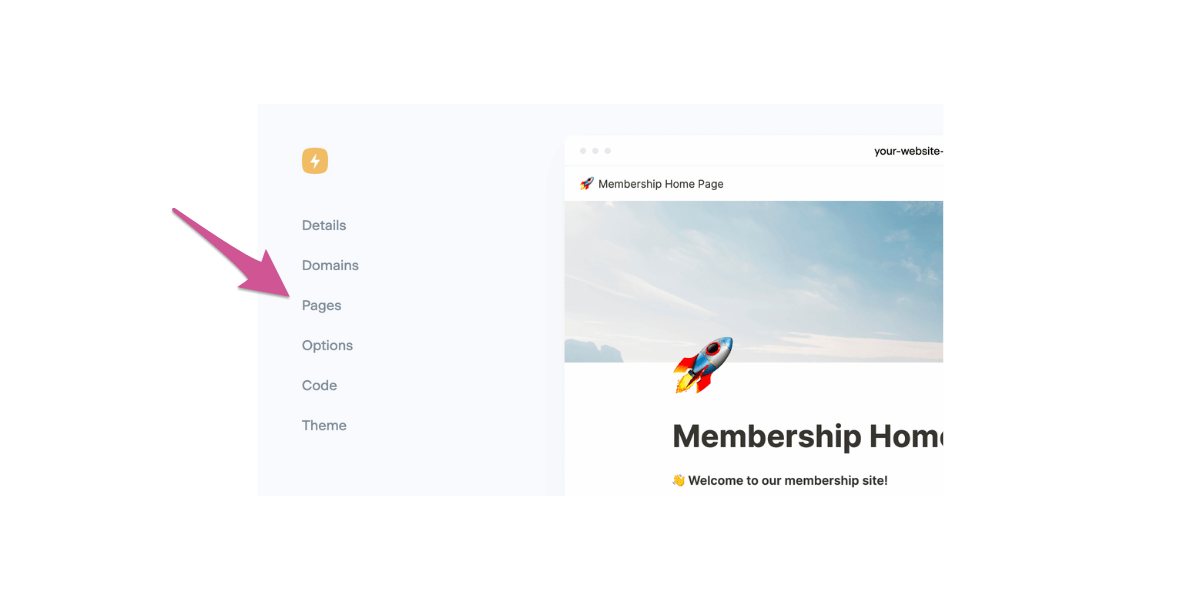
Click continue to advance to the next step. You’ll now see a preview of your site in Super, with a menu along the left.
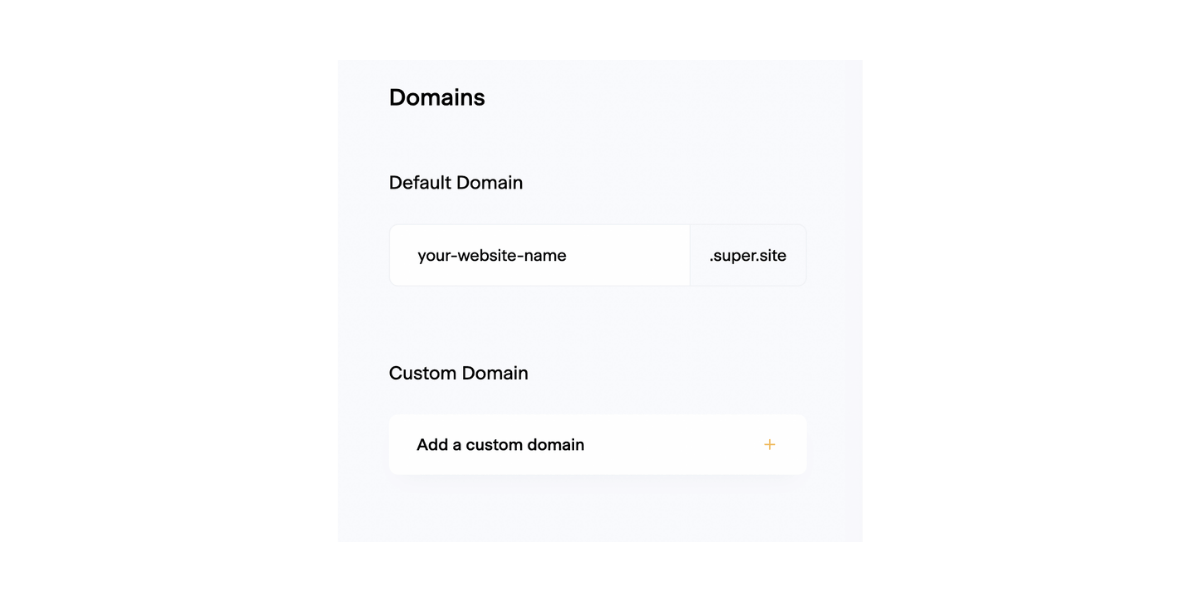
Click “Domains.”
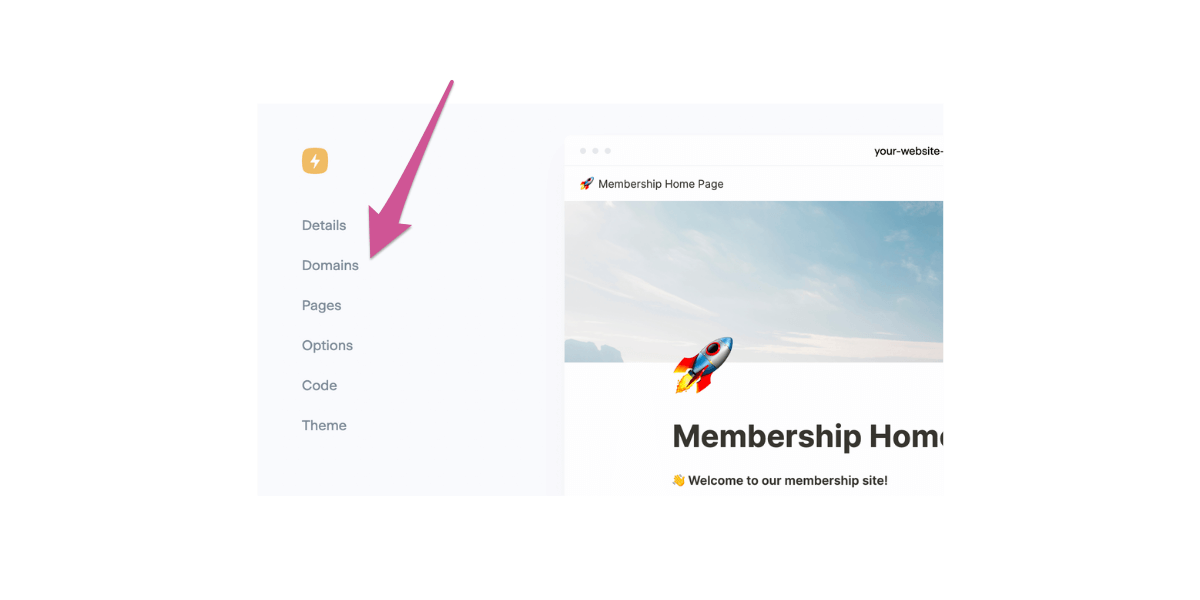
Click “Add a Custom Domain.”
Follow Super’s steps to finish connecting your domain to their service. You will need to add another CNAME record and an A record to your domain that points to your Notion site — your registrar can help with this as well if needed.
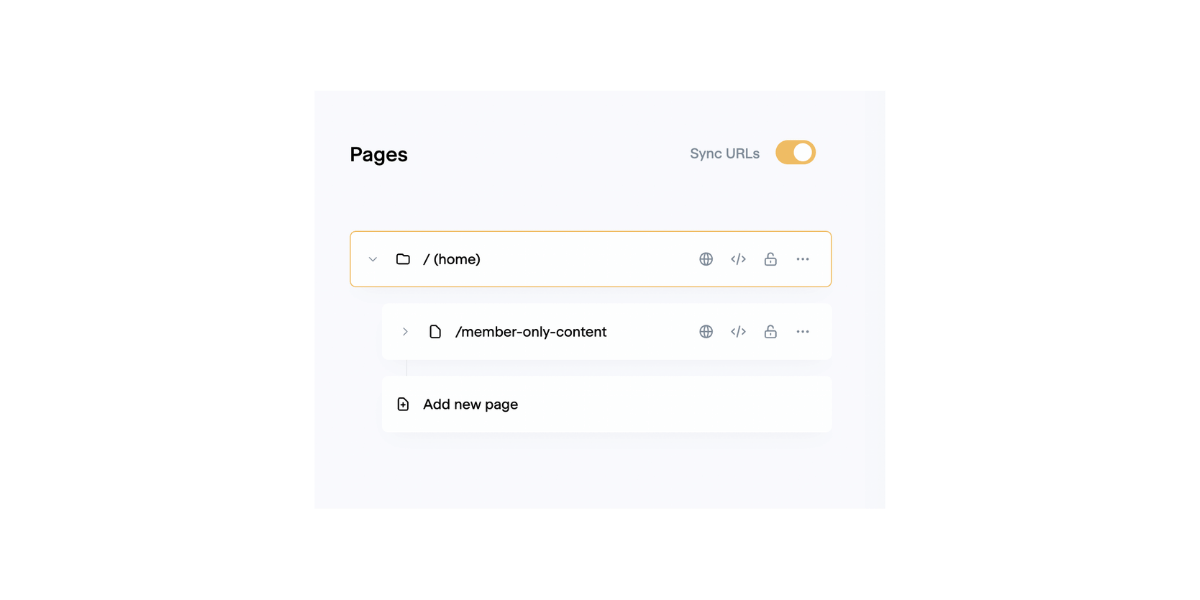
Once your domain is connected, Super will take the names of your Notion pages and turn them into pretty URLs that are easy to link to. They’ll look something like this:
https://notion.yourwebsite.com/member-only-content
Click “pages” in your Super sidebar to check your new URLs out.
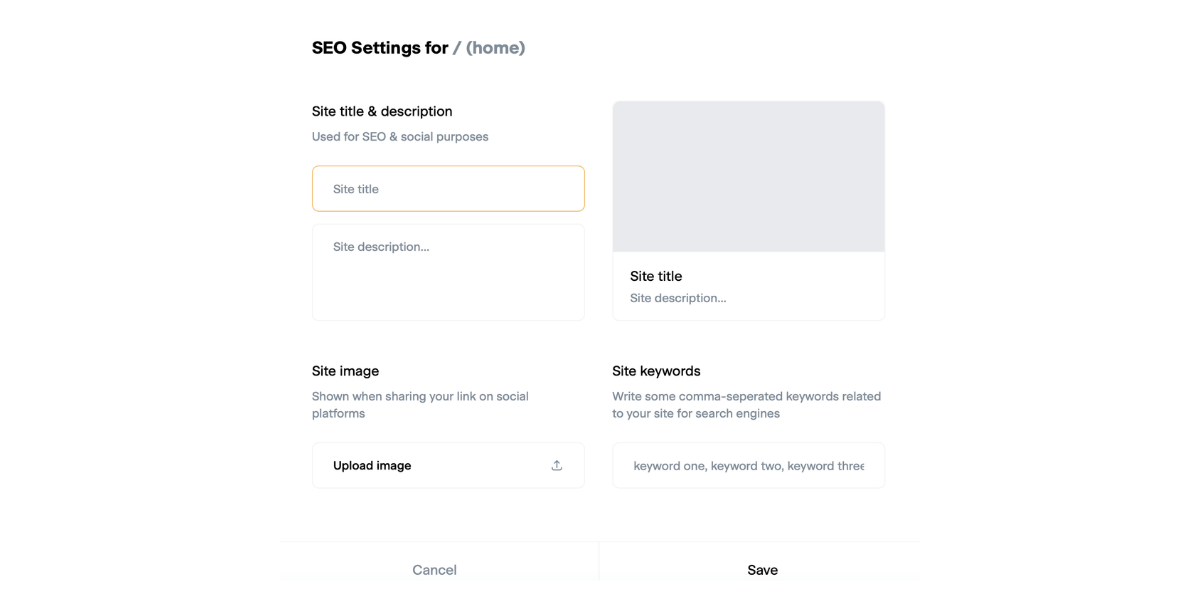
Click the globe icon next to any page name to open up your SEO settings.
In the box that pops up, you can enter information into several fields.
- Site title and description: this is what will show up in search engine results.
- Site image: this image serves as a preview for shared links.
- Keywords: additional phrases and words associated with your website — think of things people might be likely to search for online that relate to your downloads.
Step 2: Setup Your Notion Site in MemberSpace
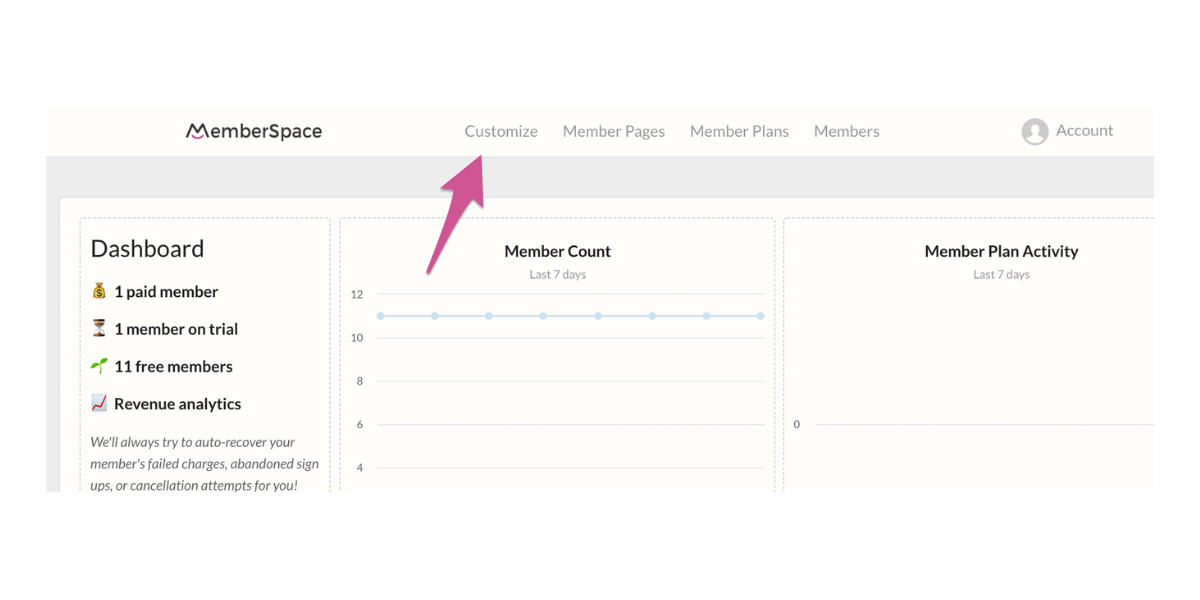
Go to your MemberSpace dashboard and click “Customize” at the top.
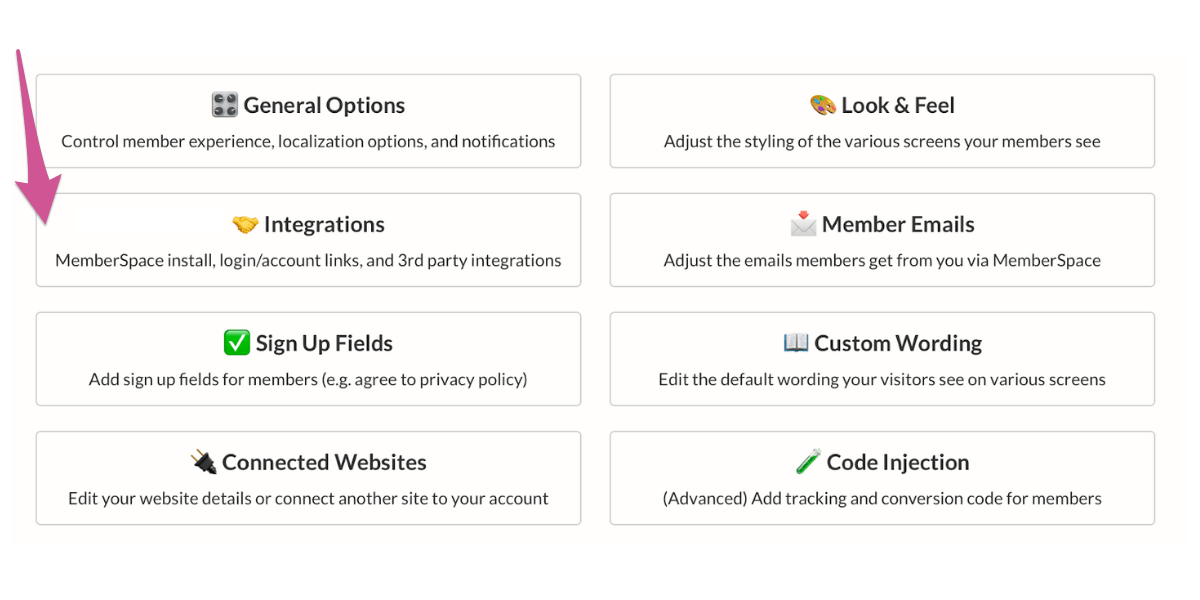
Next, click “Integrations.”
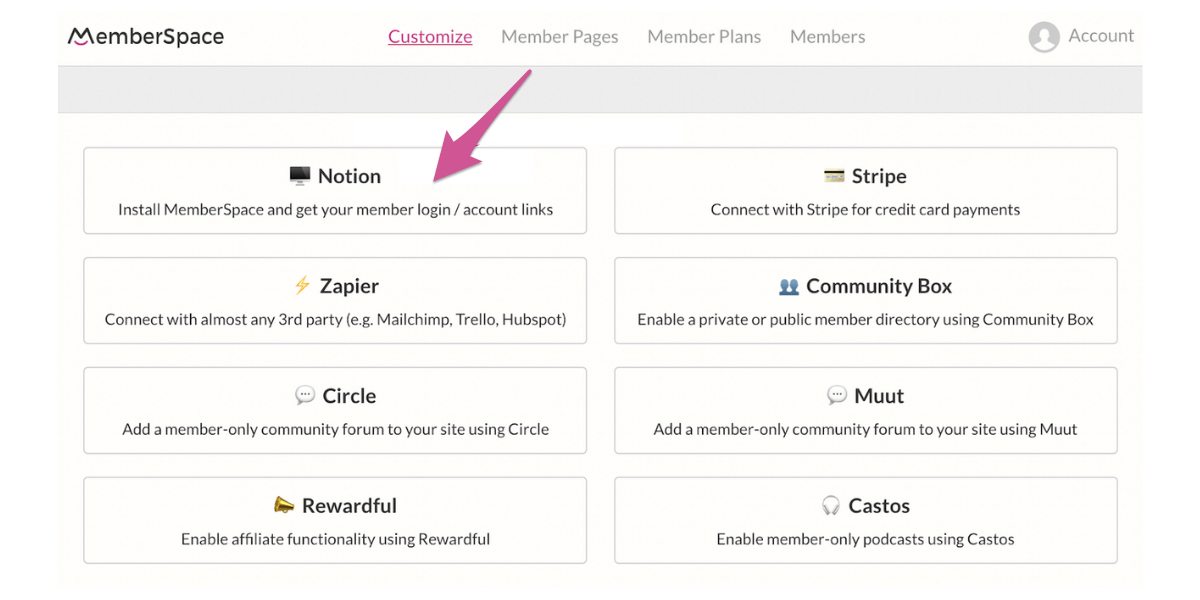
Click on “Notion.”
Under the section that says “100% Required Install Code,” click the pink button to copy it all.

Below this code, you’ll see a checkbox labeled “Display a Login/Account button.” Keeping this box checked will add a convenient login button to your site for returning members. If you don’t want the login button, you can uncheck this box, but you’ll need to add a login popup instead.
Go back to the Super dashboard. Click the gear icon next to the preview of your Notion site. Next, click “options” in the left-hand sidebar.\
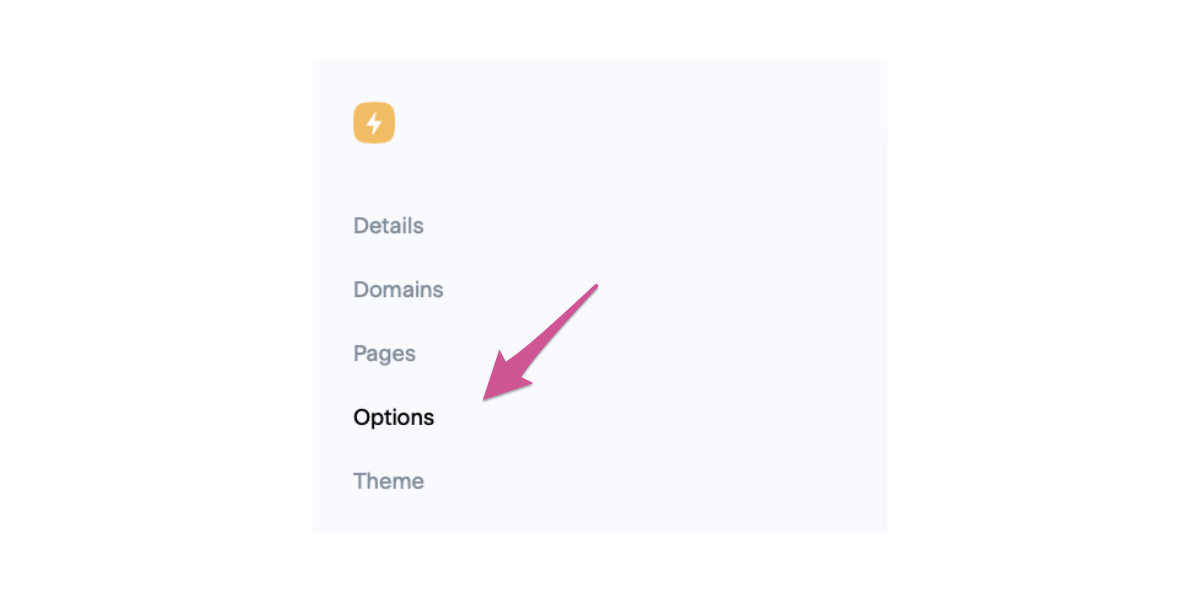
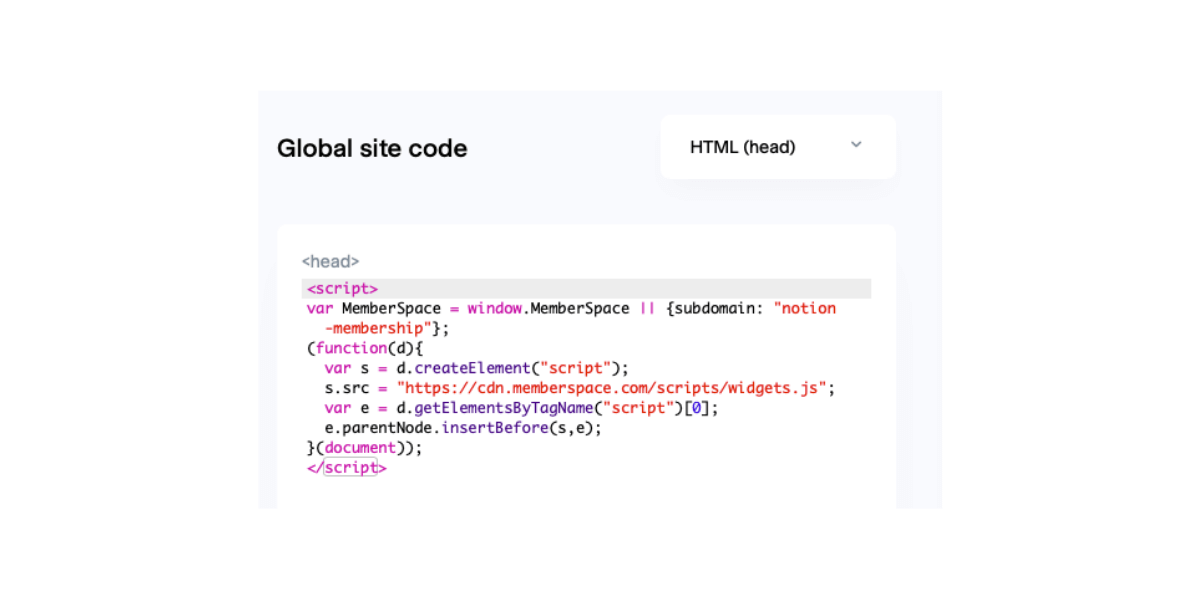
Under “Global Code Injection,” click “edit code.” Make sure the drop-down menu says “HTML (head)” and paste the code from MemberSpace in the box.
Step 3: Setup Your Member Plans in MemberSpace
Now we’ll set up the member plans that your prospective members can join.
Member plans are how you choose the cost and terms for accessing your member-only content e.g. a 14-day trial and then $25 per month.
You can create as many member plans as you like. But to get started, we’d recommend keeping these simple e.g. a monthly plan and/or an annual plan.
Here’s a short video that shows you how to set up your member plans.
Step 4: Add Your Member Only Pages in MemberSpace
Now we’re ready to add our member-only pages to MemberSpace.
As the name implies, member-only pages can only be accessed by your members when they’re logged into your Notion membership site.
If a non-member tries to access your member-only pages, they’ll be asked to log in and/or signup for one of your member plans before they can access the content.
To lock down a member-only page, just go into the MemberSpace backend and enter the URL of the page e.g. ‘https://yourwebsite.com/members’ and then select the member plans that can access each page.
Here’s a short video that shows you how to add your member-only pages.
Important: Make sure you enter the pretty URLs that you created in Super, NOT the native Notion URLs.
Step 5: Setup Your Signup and Login Forms on Notion
Next, we need a way for people to signup for your member plans.
In the MemberSpace backend, go back to Member Plans and click the Get Sign-Up Link button for one of your member plans.
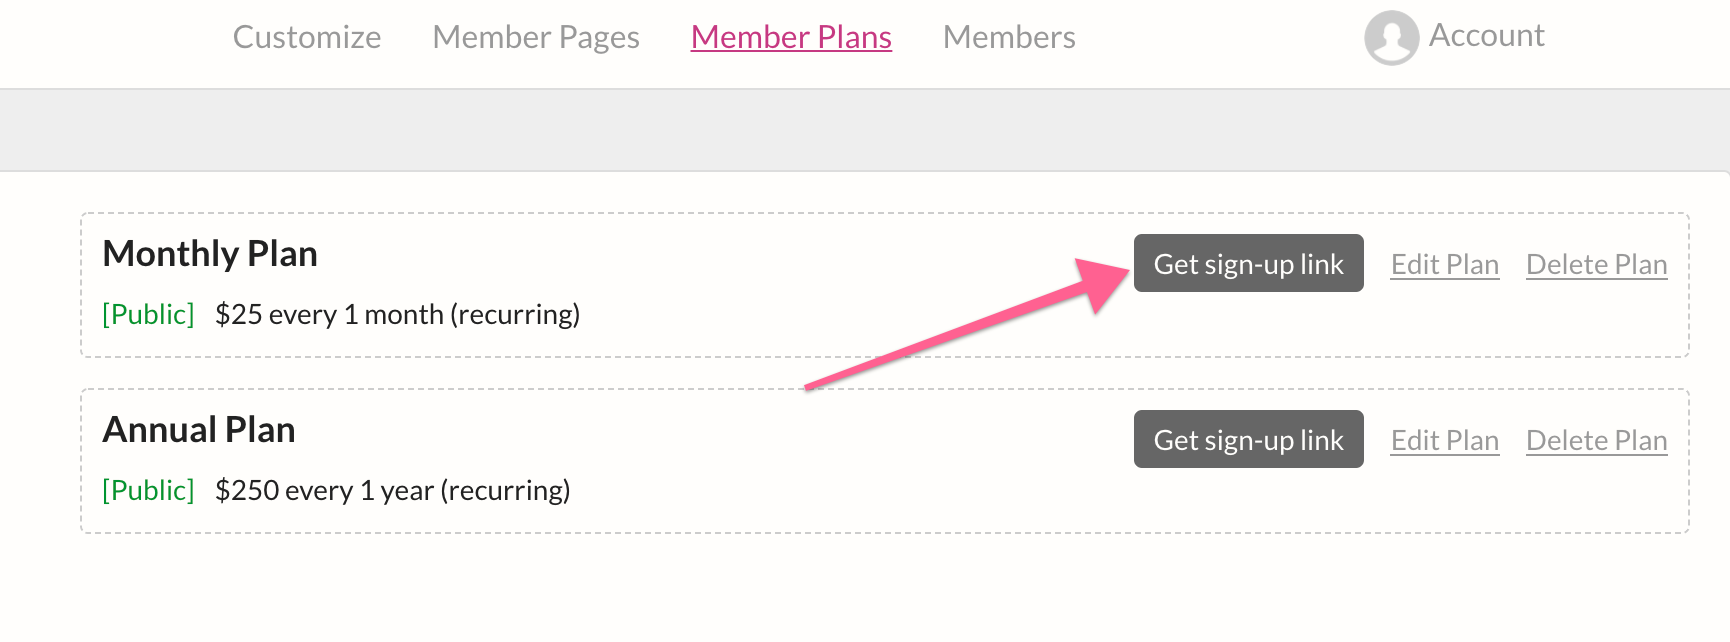
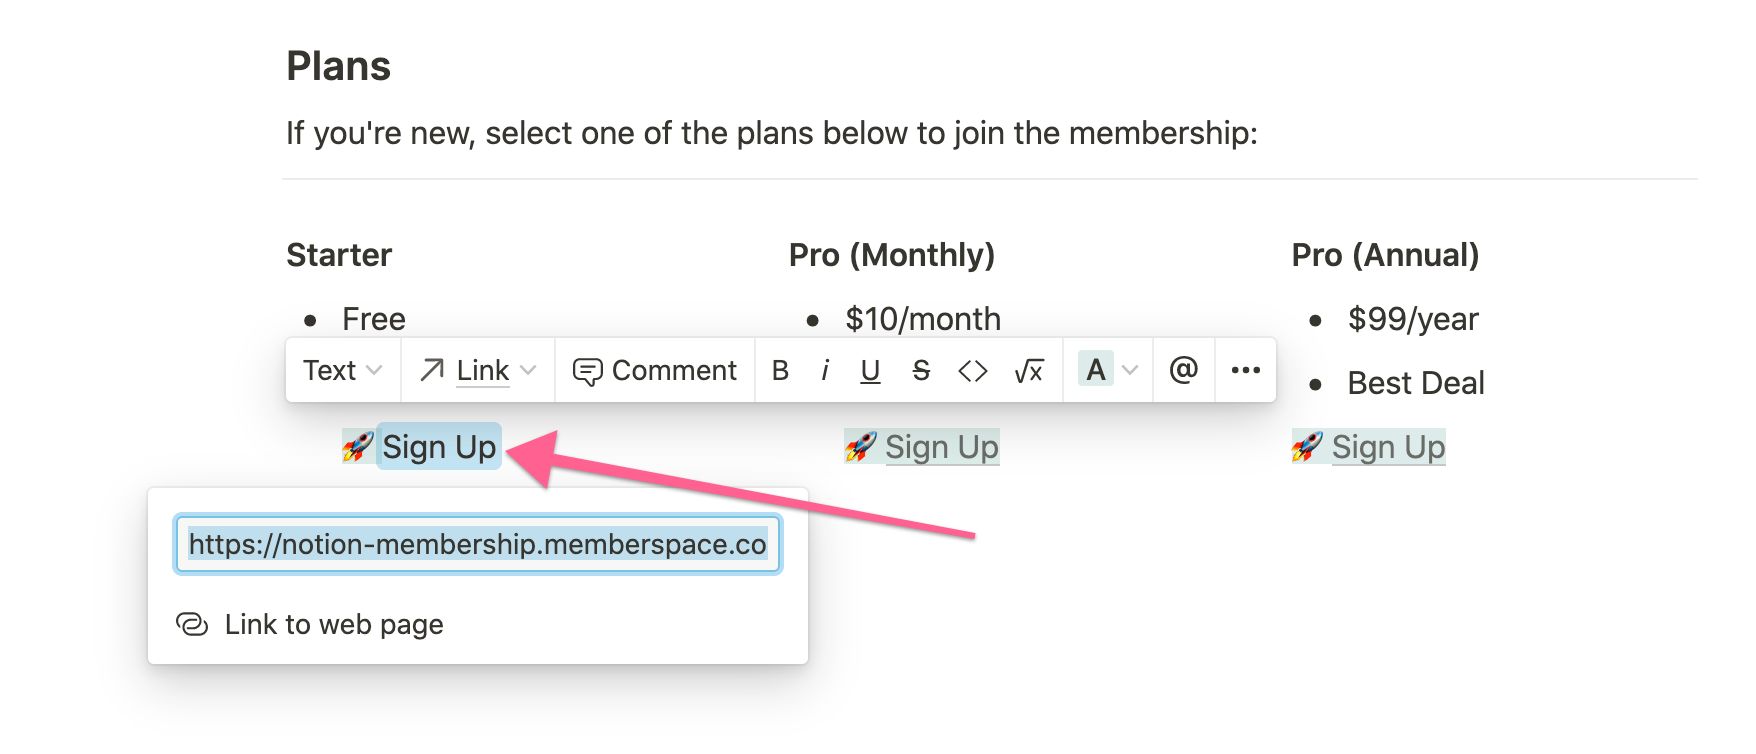
Then simply go back to your Notion site and paste this sign-up link on the page you’d like people to sign up from.
Your members will also need a way to log into your membership every time they visit your site. The easiest way to do this is is by adding a Login/Account popup.
You can add the Login/Account button so it automatically shows up on every page of your Notion site, or you can add it to a specific page or location e.g. your header menu.

When members are logged in, the button link will change to a “Your Account” link so your members can change their email, update their credit card, cancel their subscription, etc.
Here are step-by-step instructions to add a login/account popup to your site.
Step 6: Install MemberSpace on Your Notion Site
Next, we need to install MemberSpace on our Notion site.
There isn’t way to do this directly in Notion so we’re going to install MemberSpace via Super.
Remember the final step in the Super setup that we skipped? Well, now’s the time to go back and complete that step.
Here are step-by-step instructions to install MemberSpace on Notion via Super.
Step 7: Customize and Test the Member Experience
Finally, we’re ready to customize our Notion membership site experience.
You can change the look and feel of all the MemberSpace forms and buttons, so they look like they’re a part of your Notion site.
And you can customize all the emails that MemberSpace sends on your behalf when they signup, change their password, make a payment, etc.
Here’s a guide to the 5 most popular MemberSpace customizations.
And of course, don’t forget to test your membership site before you launch. We want your members to have a seamless experience and here’s a guide to help you do your testing.
As you can see, creating a Notion membership site is not complicated or hard. Just follow these steps to launch your Notion membership site in no time.
But this guide just scratches the surface with what MemberSpace can do. Once you feel like you’re ready, you can explore some of our more advanced features that can help you create an even more powerful and flexible membership site.
Our support team is always here to help - just email support@memberspace.com.